

How to arrange faux flowers
Good arranging comes down to a few principles, not a special talent. Learn them once and you'll build floral arrangements that look considered, natural and genuinely like a florist made them. Here's how we do it.

Before you start
A little preparation before a single stem goes in the vase. It makes the arranging itself far easier.
1Choose your vase
Start with where the arrangement will live, then choose the vase to suit it. A hallway console, a kitchen island and a bedside table each call for a different scale and shape.
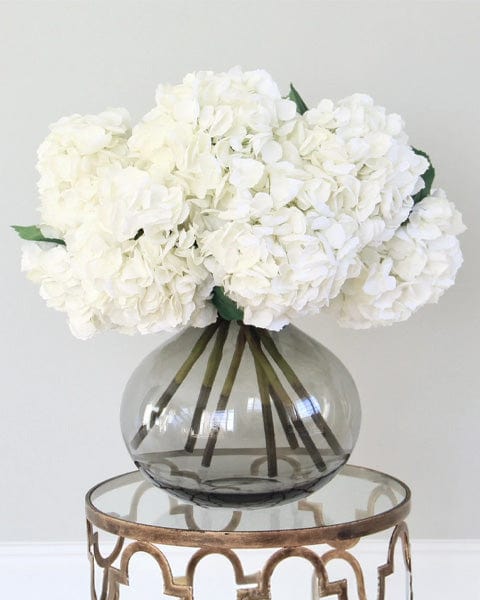
Think about the finish, how it sits in the room, and above all the neck: a vase with a wider body and a narrower neck is the most forgiving to work with, because the neck gathers the stems and holds them in place for you.
A wide, open mouth needs more stems to fill and asks more of your technique.
2Get the proportions right
As a starting point, aim for the flowers to sit at roughly 1.5× the height of the vase. Taller line stems and branches can reach higher; low table arrangements should stay under it. It's a guide, not a rule, but it keeps proportions looking deliberate rather than accidental.
3Lay everything out first
Before you build, resist going straight into the vase. Lay all your stems on a table and group them by type: foliage, your focal flowers, and the smaller filler stems.
Seeing everything at once lets you arrange with intention instead of reaching blindly into a pile, and it's the quiet difference between a considered arrangement and a rushed one.
4Prepare your stems
Bring each stem to life before it goes in. Fan out the side shoots, open/ruffle the petals, and bend the stems into soft curves to add movement.
Straight stems are the biggest giveaway of faux, so this step alone does much of the realism work.
The three stems every arrangement needs
Good arrangements aren't about the number of flowers. They're about balance between three roles: structure, focus and softness. Get the mix right and the rest follows.

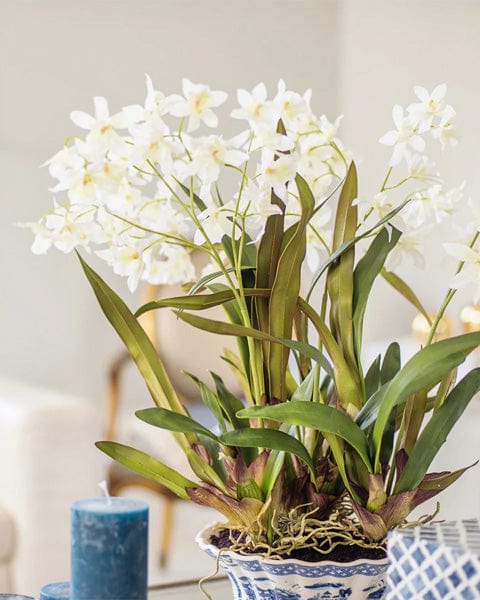
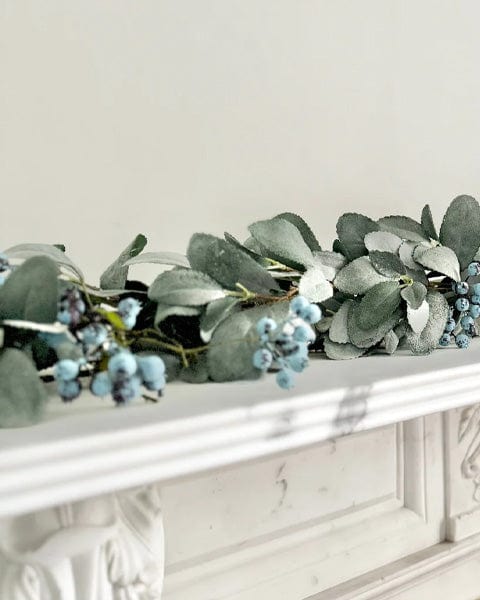
Foliage: the structure
Foliage is the skeleton of the arrangement. It sets the overall shape and height, creates movement, and gives every flower you add later something to lean against. It also softens the rim of the vase and hides the mechanics. Most people reach for too little — used generously, it's the single biggest reason an arrangement reads as natural rather than staged.

Focal flowers: the focus
These are the stems the eye lands on first - the character and colour of the whole piece. The instinct is to use as many as possible, but the opposite is true: a few well-placed focal flowers carry far more impact than a crowd of large heads competing for attention. Choose where you want the eye to go, and let these lead it there.

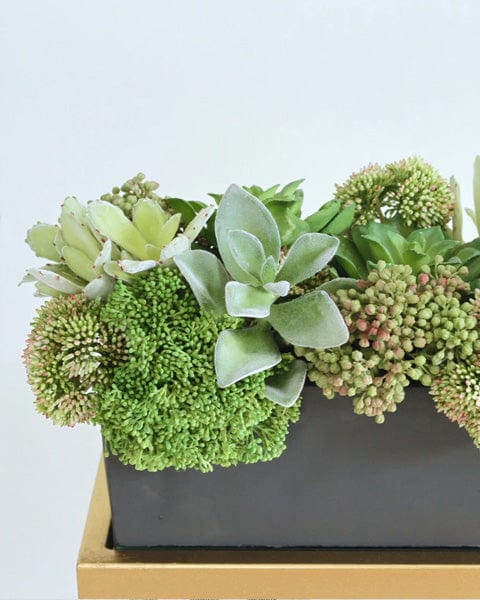
Filler flowers: the softness
Filler is the connective tissue. It threads between the focal blooms to break them up, fill visual gaps, and add the fine texture and lightness that stop an arrangement from looking too deliberately styled. Skip it and the arrangement looks blocky; add it and everything looks softer and more natural.
How to arrange, step by step
Here's where faux has the advantage. Nothing wilts while you work, every stem bends exactly where you want it, and if you don't like it, you pull it apart and start again.
So take your time - this is the part to enjoy.

Start with foliage
Always build the green first. Foliage sets the shape and height of the whole arrangement and creates a support structure for every flower you add after, so it's worth getting right before a single bloom goes in.
- Set your height and width with foliage first - this establishes the silhouette everything else works within
- Cross the stems as you drop them in - they interlock to form a loose grid across the neck of the vase, which holds later stems exactly where you place them
- Keep it light and open - leave plenty of gaps for flowers to come; it should look sparse at this stage, and that's right
If your vase has a wide neck, crossing the stems matters even more — it's what stops everything from sliding to the edges.

Add your focal flowers
Now the blooms that carry the whole arrangement. Place these with intention - decide where you want the eye to land, and build them around that.
- Vary the heights - set each at a different level so none sit in a line; real flowers never grow to the same height
- Turn them to face different ways - not all forward, like an audience; let some look out, some tuck back, some tilt down
- Leave space between them to breathe - a little gap around each bloom is what makes an arrangement look considered rather than crammed
- Use fewer than you think - a few well-placed blooms beat a crowd competing for attention, and they let the foliage and filler do their job
Odd numbers look more natural than even - three blooms sit more easily than four. It's the same instinct florists work to without thinking.

Layer in the filler
This is where it goes from fine to florist. Filler is the connective layer that ties everything together and softens the whole piece.
- Tuck it between and around the focal flowers - it breaks up the larger heads and stops them looking blocky
- Let small clusters form - group a few stems here, leave a gap there, rather than dotting it evenly; nature grows in clusters, not even spacing
- Use it to add movement - let lighter, airier stems drift slightly beyond the shape to soften hard edges and catch the eye
- Work it through the gaps last - filler is the finishing layer, so add it once your structure and focal flowers are set

Review and refine
The beauty of faux is you can take your time. Nothing's wilting, so refine the arrangement over and over until it's exactly how you want it.
- Step back and check from every angle - front, sides and back; an arrangement is closer to a sculpture than a picture
- Look for flat spots, gaps or anything too symmetrical - these are the things the eye quietly registers as "off"
- Then rework freely - pull a flower forward, drop a leaf over the rim, adjust the curve of a stem; keep going until you're completely happy
These final tweaks often make the biggest difference.

Leave it to settle
When you think it's done, give it a day or two. Stems and leaves relax into position over time, and arrangements almost always look better once they've settled into their surroundings than the moment you set them down.
Place it where it's going to live, leave it be, and let it find its shape.
How to make it look real
When arranging, remember that nature isn't symmetrical, so don't be either. Vary every height, angle and direction. Let some stems lean out, some stand tall, some fall over the rim. Work in odd numbers - three blooms, five stems of foliage - and let stems cluster like they grew that way rather than spacing them evenly.
Above all, leave breathing room: a little space between the heads can make an arrangement look more expensive and considered.
Hide the mechanics
Bare stems standing above the rim are one of the quickest giveaways of a faux arrangement. A few simple tricks keep them hidden, so all anyone sees is the flowers.
Start your foliage at the rim
Let your foliage and softer stems begin right at the lip of the vase, so leaves sit around the edge and cover where the stems meet it.
Cross your stems for support
As you place stems in, let them cross over each other inside the vase. They interlock to form a loose grid across the neck, which holds everything exactly where you put it and stops stems sliding to the edges and exposing the centre.
Use floral tape on wide necks
If your vase has a wide opening, a few strips of clear floral tape laid across the mouth in a grid gives you ready-made gaps to slot stems into. It holds each stem in position and does much of the arranging for you.
Hide the ends in clear glass
In a clear glass vase the stem ends show through, which can look unintentional. Decorative stones, pebbles or glass beads in the base cover them neatly and add a finished detail of their own - a simpler fix than trimming every stem to sit perfectly.
Bend or cut your stems?
How you adjust the length depends entirely on your vase. The good news: in most cases you won't need to cut at all.
When to bend
- Keep the stem full length - just fold it back on itself near the base to shorten it, like a hairpin
- Adjust as often as you like - straighten it out and reuse the same stem in a completely different arrangement later
- The flexible choice - and the right one for most vases, since nothing's permanent
When to cut
- Trim so the stem looks intentional - an untrimmed stem behind glass gives the game away
- Use wire cutters - never household scissors; every stem has a wire core that will mangle rather than cut
- Measure first, cut gradually - you can always take more off, but you can't put length back
- Cutting exposes the bottom of the wire - fine for a dry vase, but if a cut stem is going into water, you'll need to seal the cut end first (clear nail varnish works), or the wire can rust
Ready to make your own?
You've got the method. Now choose the stems to put it into practice: foliage for structure, focal flowers for character and filler to weave it all together.